I started out today with 6 dried screens. I set up 2 tables side by side. The tables are 30" X 6' so the 4' X 8' table hangs one foot off each end and is wider than the two tables together.
Tables stored behind door
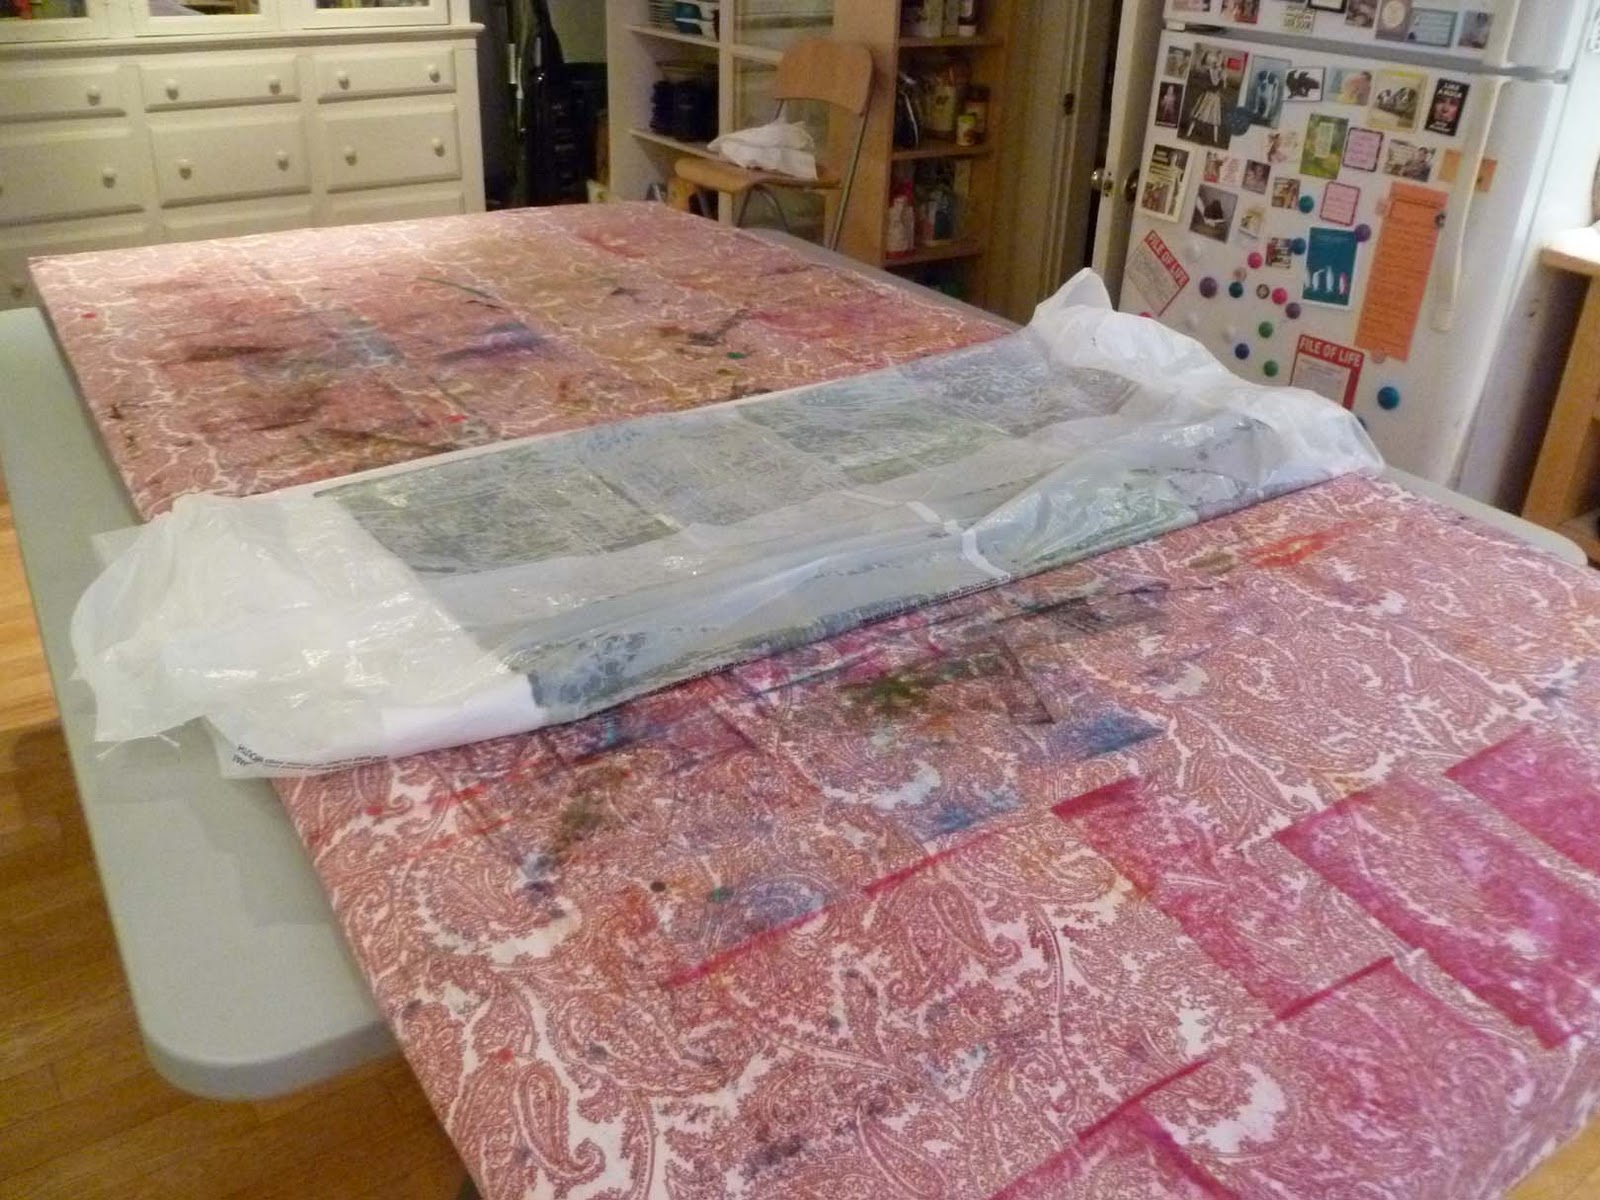
Set up with not much moving around room
With print table on top.
With opened bin bags covering table. I found this was the easiest way to fold up the fabric to batch which you will see at the end of the printing session.
Table with pre-treated fabric tightly T-pinned to the table
I was almost out of print paste so I made 2 quarts (2000ml). That's 2 T.Thick SH /1 quart (1000ml) water.
Thick SH in 1 lb. bag with blender
I keep the lid on at all times to keep mold spores out. Print paste lasts a long time (over 6 months) but when it goes bad there is no question. It smells like rotting seaweed. REFRIGERATE IT.
The dark heavy deposits of dye will act as a resist. The lighter and see through area will be where the color melts (deconstructs) easiest and is then deposited on the cloth. As the screen is pulled over and over, more dye dissolves leaving larger areas with dye on the cloth and smaller areas of resist. That is due to the break down of the dried dye and it's deposition on the fabric.
Initial wetting with a thick layer of clear print paste
First few pulls. Lots of white because not much dye has broken down yet. From this picture you can really start to understand how the thickest dye that hasn't dissolved (deconstructed) yet acts as a resist.
After 4 pulls (prints)
One of the cool things that I experiemented with was to make 4 prints, then turn the screen up-side-down and print again over the four prints. If you look at the fabric with 2 prints above, that would mean I would turn the screen so that the red part of the screen was now on top and the blue on the bottom. This was my attempt to get rid of all the white.
These are the four blocks above with one print and one reverse print.
Still lots of white but you can see red and blue all over. One of the
things I love about this type of surface design is the wonderful
figuring on the cloth. I will point out more after the fabric is batched
and washed.
. The next thing I did
was to take the squeegee with clear print paste and
pass it over the print. It picked up enough color to tint the white
spots.
I didn't want to mix the red screen and yellow screens so I used clear print paste directly on the squeegee without a screen and as you can see the white spots are now tinted without losing the definition. This is the power of the first strike. Once those catcher's mitts have balls in them they have a powerful bond. If you are relatively gentle with the clear print paste, you can add tint to the white without disturbing the original prints. This was Judith's idea. My idea was to place a used
screen on the print and just pull tinted print paste on the small area that was white. This also worked and was a bit faster. It also had the safety of having the screen between the printed fabric and the squeegee preventing any smears.
This another screen in process
I forgot to get a picture of all the fabric covered. You will see it tomorrow after batching. This picture is after I tore off the last 2 feet of unprinted fabric which I will save for another time I need pretreated fabric. I took that last bin bag and placed it over the end of the fabric then folded it so that all wet sections were touching plastic. Four big folds below.
Folded neatly into a small packet to fit on my tray. I leave the tray on the top shelve of my parents bookcase. They live in an apartment off my kitchen. My house is 60 degrees which is too cold to batch. There apartment (especially near the ceiling) is about 80 degrees. That is perfect for batching. Another method if you don't have parents conveniently located off your kitchen is to use rice bags heated in the microwave oven, placed on plastic covered fabric and covered with a towel. It works beautifully.
See you tomorrow for the finished fabric and a comparison with some deconstructed pieces I did before filling in the white spots.


Thank you for explaining how deconstructed screenprinting go's.
ReplyDeleteIts beautiful. I am going to try.
Thanks Joke. It is loads of fun. Seeing how weak the first prints are on my tutorial and comparing those prints to the finished product is meant to be a confidence builder. They may look weak at first but by flipping the screen and repeating a print, you can get interesting results.
ReplyDeleteGood result. I love to work with deconstructed screenprint. Never a dull piece of fabric!
ReplyDeleteThe resukts are beautiful! And now Inunderstand why it's calle deconstructed.
ReplyDeleteI just can't tell you how much fun this is. The true meaning of serendipity.
ReplyDelete